Overview: The Importance of Proper Banner Eyelet Finishing
Every outdoor banner eventually needs to be hung, and the quality of the eyelet installation directly determines how long it lasts and how professional it looks. Poorly set eyelets tear through banner material, leave ragged holes, and fail under wind load — resulting in fallen banners, damaged property, and dissatisfied clients. Properly set eyelets, on the other hand, distribute installation forces across the banner material cleanly and hold up through months of outdoor exposure.
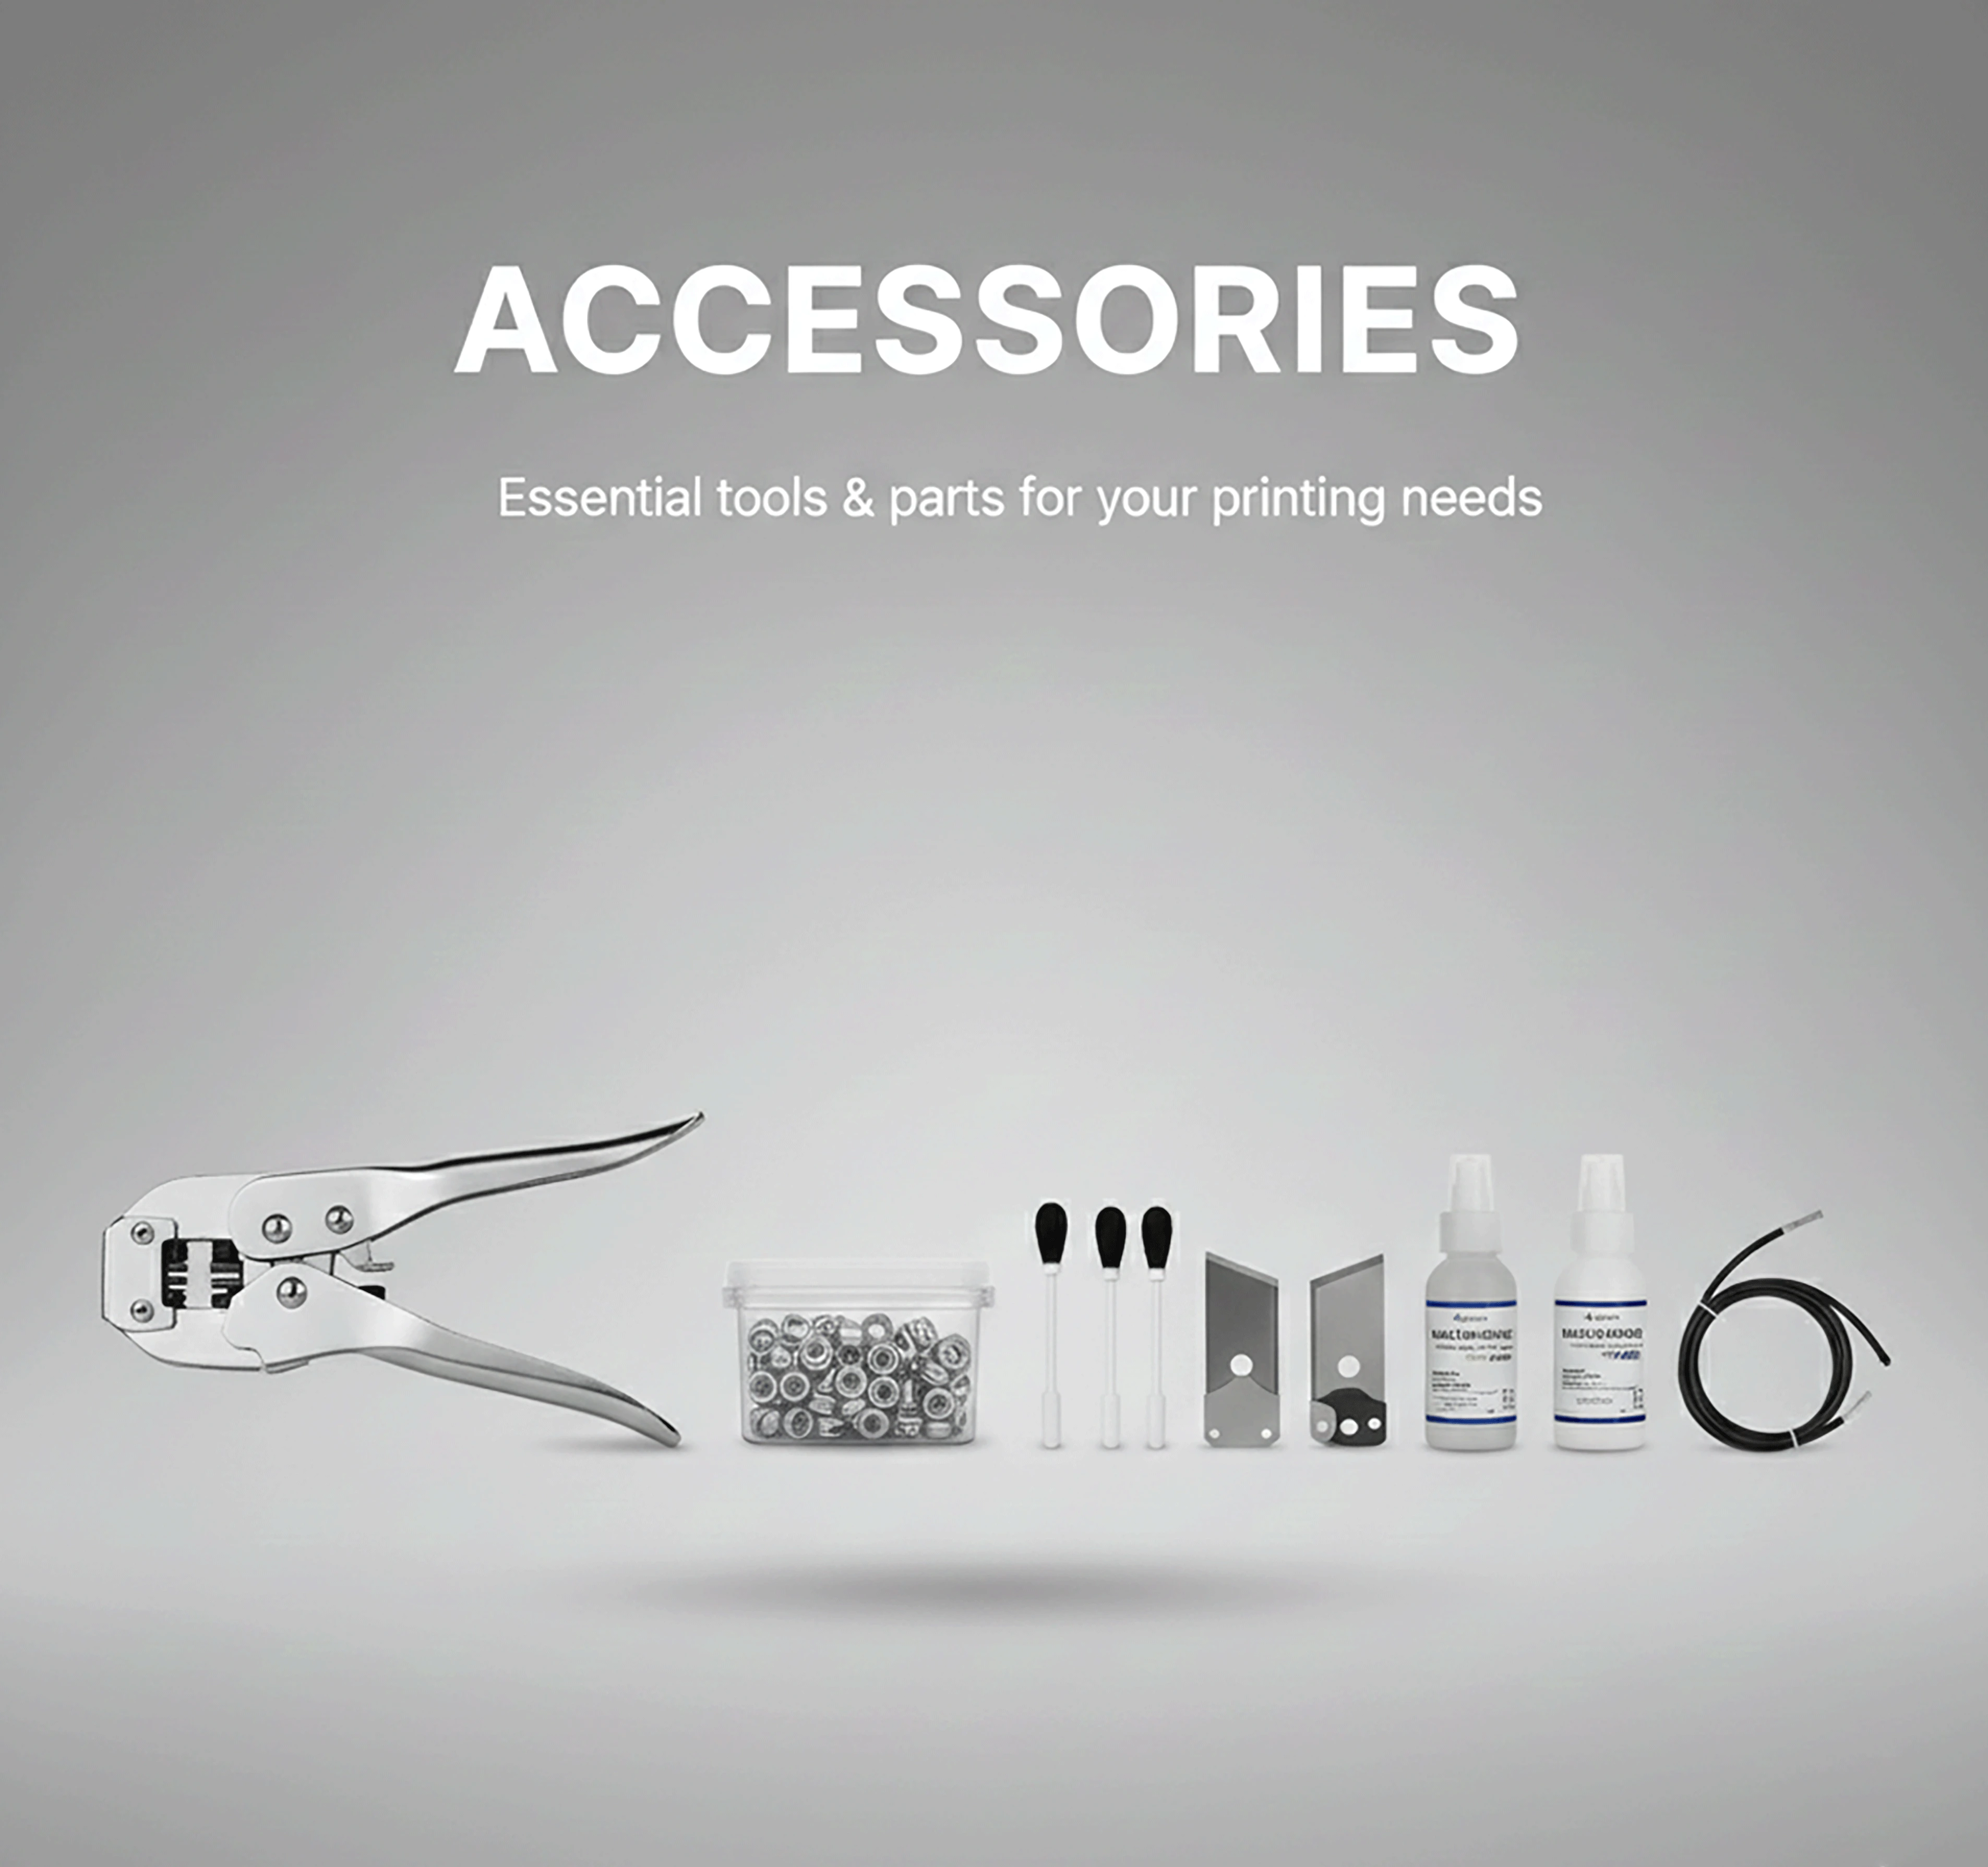
Eyelet #2 (10mm hole diameter, 19mm flange) is the most widely used banner eyelet size in the Philippine sign industry. It provides a strong grip on the banner material without creating unnecessarily large holes, and it accommodates standard cable ties, rope, and bungee cord installation methods commonly used for banner hanging in the Philippines. The 1880 pcs pack quantity is designed for high-volume production shops that finish dozens of banners weekly.
The choice of puncher — press, semi-automatic, or manual — depends on your production volume and budget. Press punchers offer the highest consistency and speed for high-volume shops, semi-auto punchers balance speed with portability, while manual punchers are affordable and sufficient for low to moderate production volumes or field use.
Specifications
| Specification | Detail |
|---|---|
| Eyelet Size | 10mm hole diameter x 19mm flange (Eyelet #2) |
| Pack Quantity | 1880 pcs |
| Eyelet Material | Metal (rust-resistant finish) |
| Puncher Types Available | Press, Semi-automatic, Manual |
| Primary Application | Banner finishing and outdoor sign installation |
| Compatible Materials | PVC flex, mesh banner, vinyl, canvas |
How to Set Eyelets on Banners
Before setting eyelets, ensure that the banner edges have been hemmed with double-sided banner tape (such as S335) and that the hemmed area is fully bonded and dry. Eyelets should always be set through the hemmed edge — never through single-layer banner material — to ensure adequate material strength around each eyelet hole.
Mark eyelet positions at equal intervals along the hemmed edges, typically 30–50cm apart depending on banner size and intended installation method. For press and semi-auto punchers, load the eyelet into the puncher die, position the banner over the die, and actuate the punch to cut the hole and set the eyelet in a single motion. For manual punchers, punch the hole first, then insert the eyelet male and female components from both sides of the material and press them together firmly with the setting tool.
Inspect each set eyelet to confirm that the flanges are fully crimped and flush against the banner material with no sharp edges or incomplete crimps. A correctly set eyelet should be immovable when pulled by hand. Replace any eyelets that show loose or incomplete crimping before the banner is installed.
Tip: For large banners (3m x 6m and above) that will be installed in exposed, windy locations, increase eyelet density to every 25–30cm and reinforce eyelet positions with an additional patch of vinyl tape on the back of the hem. This prevents eyelet pull-through under high wind load conditions common in coastal and high-rise locations in the Philippines.
Final Verdict
Quality eyelet hardware and the right puncher are non-negotiable for professional banner finishing. The Eyelet #2 1880 pcs pack provides excellent value for high-volume shops, and the range of puncher types ensures there is an appropriate tool for every shop size and budget. Properly finished banners with well-set eyelets reflect the professionalism of your sign shop and reduce callbacks from installation failures.
Strengths
- Industry-standard eyelet size for banner installation
- 1880 pcs bulk pack for high-volume production shops
- Multiple puncher types for every budget and volume
- Press puncher delivers fast, consistent results
- Rust-resistant metal construction for outdoor durability
Limitations
- Manual puncher requires physical effort for high-volume use
- Eyelets must always be set through hemmed edges for best results
- Press puncher requires bench space and is not portable